Step 1: Remove pintel mount for the miniature figures.
 |
| Step 1a |
 |
| Step 1b |
Step 2: Use a pin-vise a hole in the base of the gun mount. I had used a .032 bit with a .031 brass wire. Glue long brass wire into gun mount on the miniature(s).
 |
| Step 2 |
Step 3: remove the original beam ball turret and cut the armature from the ball turret hinge.
 |
| Step 3a |
 |
| Step 3b |
Step 4: pin vise the armature to allow the door gunner's weapon to fit within. Slip the door gunner's brass rod through the armature and snip off the remainder from bottom of armature.
Step 5: file the cut end of he brass wire to allow it to pass through the armature without too much effort.
 |
| Step 5 |
Step 6: Glue pins into miniatures
 |
| Step 6 |
Step 7: Paint and enjoy


 You can see another fantastic rendition of this star ship in the blog banner above as well as the conceptualized art work for the T5 rulebook. This is a wonderful ship design that only suffers from one flaw on the deck plans - that is both an overhead/dorsal exterior hatch. I would assume that ships of this size and shape would need a way to dock/connect with an umbilicus to other ships easily and this plan is missing that very thing.


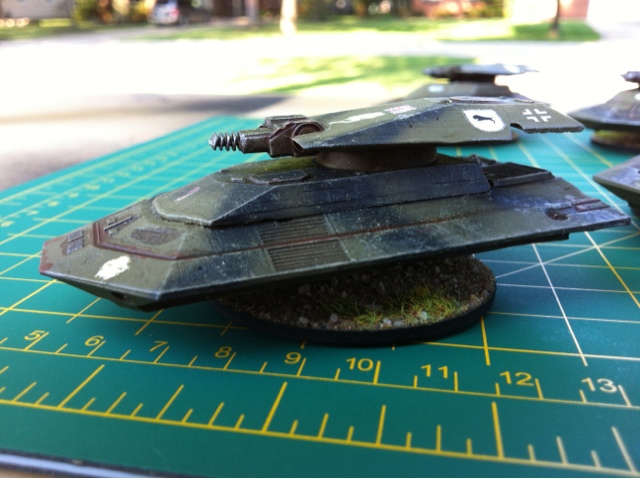
 I
had fallen in love with this tank the first time that I had seen the
box cover artwork that was produced by Martian Metals "back in the
day". All of the larger models were sold in this box and identified
with a typed label.
I
had fallen in love with this tank the first time that I had seen the
box cover artwork that was produced by Martian Metals "back in the
day". All of the larger models were sold in this box and identified
with a typed label.